-
download latest micropython esp8266 firmware for your board
-
on your host system install python3
-
install esptool, rshell, ampy on your host to communicate with esp32 board
# Example on Linux sudo pip3 install esptool sudo pip3 install rshell sudo pip3 install adafruit-ampy -
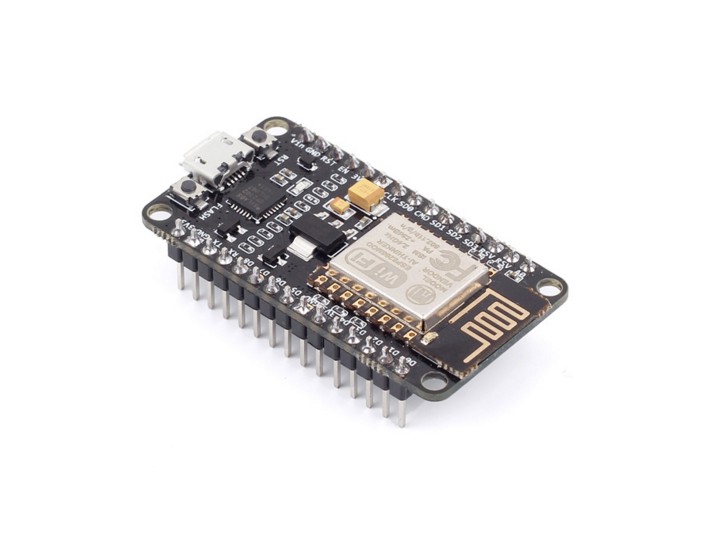
connect board via USB. Run command:
dmesg | grep ttythat will help to find ttyUSB connection port.This port will be used later for all communication operations
-
check board flash status. (In this example and below we assume that port=ttyUSB0)
esptool.py --port /dev/ttyUSB0 flash_id
-
erase board flash before new firmware uploading
esptool.py --chip esp32 --port /dev/ttyUSB0 erase_flash
-
burn new firmware
esptool.py --chip esp32 --port /dev/ttyUSB0 write_flash -z 0x1000 [your esp32 firmware .bin]
-
For board CLI access rshell can be used:
rshell --buffer-size=30 -p /dev/ttyUSB0
after board prompt appears ">" you will have access to some board commands:
args cat connect echo exit filetype ls repl rsync boards cd cp edit filesize help mkdir rm shell -
repl command will start micropython interactive shell.
Also this shell can be used for board soft reboots(Ctrl+D).
Hard reboots can be done by board "RST" button.
- ampy utility can be used for storing/deleting files,
directories creation/removing and scripts run
export AMPY_PORT=/dev/ttyUSB0
ampy mkdir /lib
ampy put blynklib_mp.py /lib/blynklib_mp.py
ampy put test.py test.py
ampy run test.py
The firmware including the MicroPython subsystem is stored in the onboard flash. The remaining capacity is available for use. For reasons connected with the physical architecture of the flash memory part of this capacity may be inaccessible as a filesystem. In such cases this space may be employed by incorporating user modules into a firmware build which is then flashed to the device.
There are two ways to achieve this:
- frozen modules
- frozen bytecode.
Frozen modules store the Python source with the firmware.
For custom esp8266 firmware build creation:
-
install docker to your host system. Steps how to do it under different OS described here
-
clone with git esp8266 docker repository. Virtual environment will be needed for firmware build operation.
git clone https://github.com/enqack/docker-esp8266-micropython.git cd ./docker-esp8266-micropython -
place your library module to docker-esp8266-micropython root
-
modify Dockerfile. You need place your library module to esp8266 frozen modules directory. Thus Copy instruction in Dockerfile should be placed after 'RUN apt-get update' and before 'USER micropython'
RUN apt-get update ... ... COPY blynklib_mp.py /micropython/ports/esp8266/modules/blynklib_mp.py USER micropython ... -
follow this instructions to build and copy custom esp8266 firmware.
Build process can take some time ~ 15-40 minutes.
-
after firmware created and copied locally - you can try to burn it with esptool to your ESP8266 board.
-
connect to board CLI with rshell and test blynklib_mp availability within repl
import blynklib_mp
print(blynklib_mp.LOGO)
Frozen bytecode approach uses the cross compiler to convert the source to bytecode which is then stored with the firmware.
Examine this document to get more details how to compile *.py files into *.mpy bytecode
After *.mpy files can be placed to /lib directory of esp8266 board with ampy tool. Libraries *.mpy can be simply imported in the same manner as standard *.py library
import blynklib_mpNote!! During custom firmware creation your libraries will be converted and adopted to esp8266 environment automatically. So you can create custom build and then just copy *.mpy files from docker system to local
docker cp micropython:/micropython/ports/esp8266/build/frozen_mpy/blynklib_mp.mpy blynklib_mp.mpyMicropython allows to use core network module for WiFi connection setup.
In script just place:
import network

WIFI_SSID = 'YourWifiSSID'
WIFI_PASS = 'YourWifiPassword'

wifi = network.WLAN(network.STA_IF)
wifi.active(True)
wifi.connect(WIFI_SSID, WIFI_PASS)

# check if board connected
connect_status = wifi.isconnected()